How to Connect a UPS to a PC – Safe Setup & Power Protection Guide
Connecting a UPS (uninterruptible power supply) to your PC is simple, but doing it correctly ensures your computer stays protected during outages and gets enough time to shut down safely. This guide shows you exactly how to connect your PC, monitor, and networking gear to a UPS the right way.
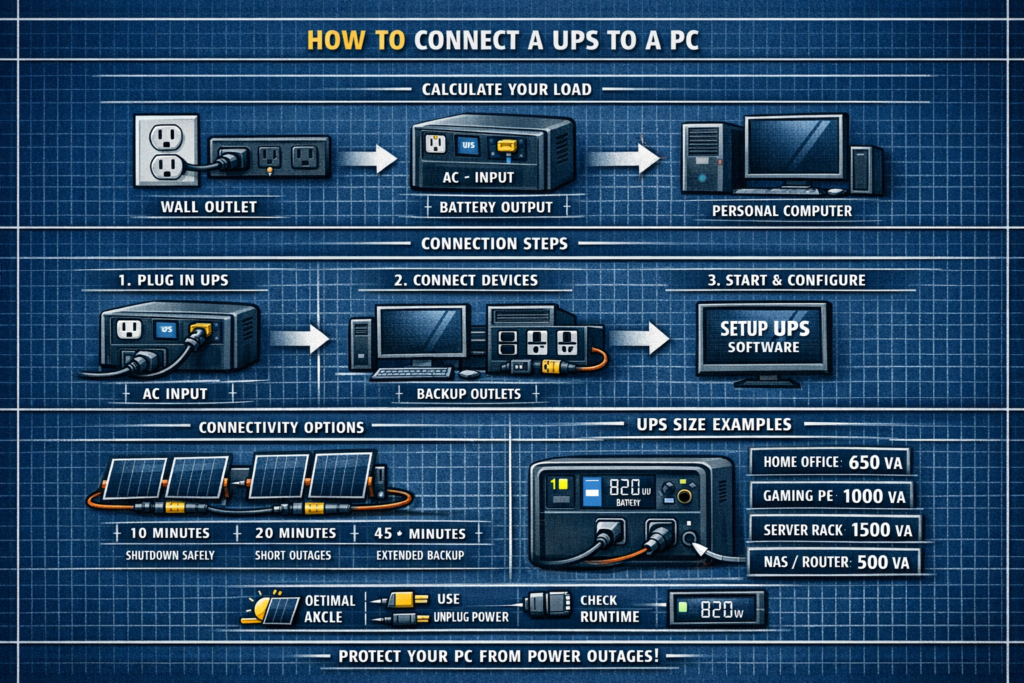
Step 1 – Identify the UPS Outlets
Most UPS units have two types of outlets:
| Outlet Type | Purpose |
|---|---|
| Battery + Surge | Keeps devices running during outages |
| Surge‑Only | Protects from spikes but does not provide backup power |
Your PC and monitor must go into the battery‑backup outlets.
Step 2 – Plug Your PC Into the Battery‑Backup Outlets
- Plug your desktop PC into a battery‑backup outlet
- Plug your main monitor into a battery‑backup outlet
- Optional: plug your router/modem into battery‑backup so internet stays online
Do NOT plug high‑draw devices (printers, heaters, speakers, lamps) into battery outlets—they reduce runtime or overload the UPS.
Step 3 – Plug Accessories Into Surge‑Only Outlets
Use surge‑only outlets for:
- Printers
- Speakers
- Phone chargers
- Desk lamps
- USB hubs
This keeps battery power reserved for your PC and monitor.
Step 4 – Connect the UPS USB Data Cable to Your PC
Most UPS units include a USB cable that lets your PC communicate with the UPS.
- Plug the USB cable into the UPS
- Plug the other end into your PC
- Your operating system will detect the UPS as a “battery”
This enables automatic shutdown when the UPS battery gets low.
Step 5 – Install UPS Monitoring Software (Optional but Recommended)
UPS software lets you:
- Monitor battery level
- View load percentage
- Set auto‑shutdown rules
- Get alerts during outages
Most UPS brands offer free software for Windows and macOS.
Step 6 – Power On the UPS and Test It
Once everything is connected:
- Turn on the UPS
- Turn on your PC
- Unplug the UPS from the wall for a few seconds
Your PC should stay on — this confirms the UPS is working correctly.
Recommended UPS Connections for a PC Setup
- Desktop PC
- Main monitor
- Router + modem (optional)
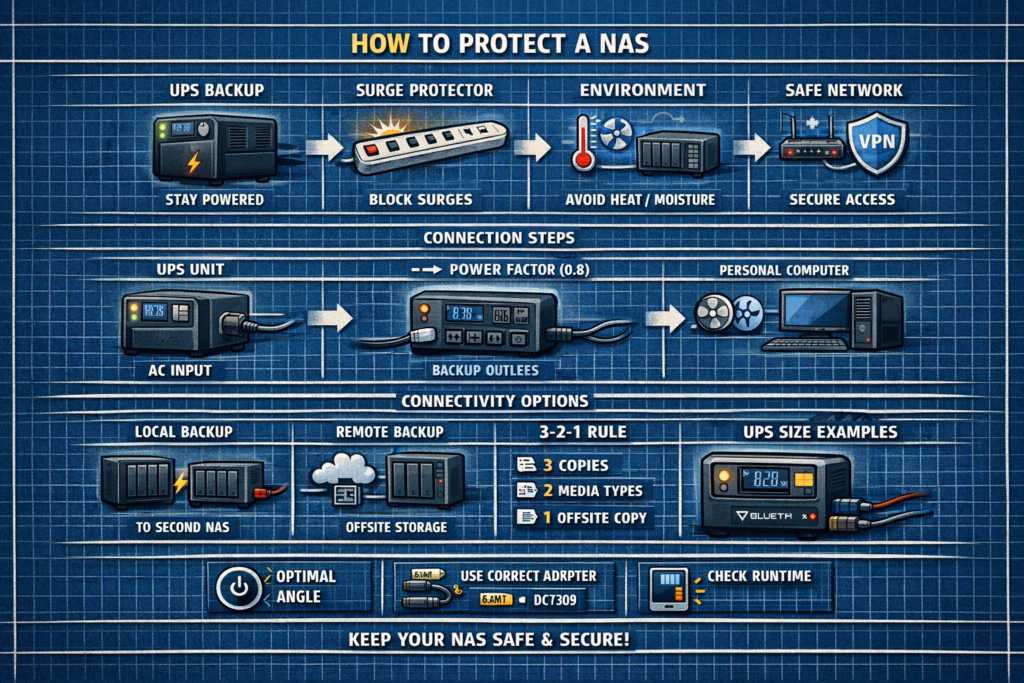
- NAS (optional)
- Printer
- Speakers
- Phone chargers
- Desk accessories
Common Mistakes When Connecting a UPS to a PC
- Plugging the PC into surge‑only outlets (no backup power)
- Overloading the UPS with printers or speakers
- Not using the USB data cable (no auto‑shutdown)
- Using power strips between the UPS and PC (unsafe)
- Ignoring battery replacement every 3–5 years
FAQ: Connecting a UPS to a PC
Can I plug a gaming PC into a UPS
Yes—just size the UPS correctly and use battery‑backup outlets only.
Should I plug my monitor into the UPS
Yes—otherwise you can’t see to shut down during an outage.
Can I plug a power strip into a UPS
No—this can overload the UPS or bypass protection.
Do I need the USB cable
It’s optional, but highly recommended for automatic shutdown.
⚡ Explore More UPS & Power Protection Guides
Pair your UPS with proper sizing, surge protection, and runtime planning.
As an Amazon Associate, we earn from qualifying purchases. This does not affect our reviews or product recommendations.